Can’t walk past a cute little cactus without adding it to your collection? If your shelves are running out of space for your home succulent oasis, maybe it’s time to consider some macrame hanging plant holders.
If you’re game for learning a couple of macrame knots, you can harness the Stranger Things aesthetic while making, well . . . harnesses for your plants. Scroll on for video tutorials from Moss Points North for creating your very own Macrame Plant Hanger.
The Overview
This is going to go by quickly, but don’t get frustrated. We’ll break it all out for you in the next few videos.
Starting Your String Art
The first thing you’ll need to do is cut your cords. You want 3 ropes that are 6-feet long and 3 ropes cut to 9-feet long. Hang them right at the middle, so that the ends meet at the bottom.
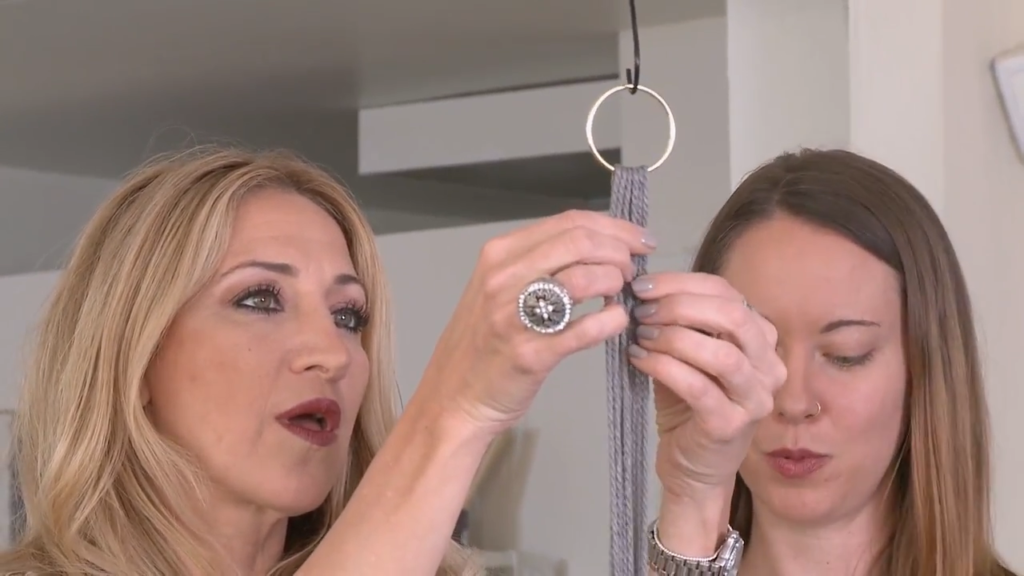
The Wrapping Knot
Cut a separate piece of cord 2-feet long to start your knot. Then follow this excellent tutorial to learn the first macrame knots you’ll use for this project.
The Half Square Knot
Grab the four cords closest to the end. Make sure that the two middle cords are the shorter 6-foot ropes while the two outer cords are 9-feet. Then follow these steps to make six half square knots.
Now do the same with your next set of four cords. Then the next. Now you’ve created the decorative top of your plant hanger.
The Square Knot
Here’s where you’re going to branch out a little on your own. Before we tie the next set of knots, consider how low you want your plant to hang. For reference, in the overview tutorial Amy ties her next set of knots about 12 inches below the half-square knots we just completed.
The Alternating Square Knot
We’re almost at the finish line. Right now you have three groups of four cords, each with a Square Knot at the end. Now, we’ll kick it up a notch and finish this baby strong.
You’ll need to tie three of these to connect each branch of your creation to it’s neighbors.
The Last Wrapping Knot
This will provide the secure base for your potted baby, so we threw in the instructions again, just in case you forgot how it goes.
Don’t worry if there’s a lot of cord hanging from the bottom. You can cut your fringe to whatever length you like once you’ve tied the wrapping knot.
Congratulations, you’ve made it through the tutorial and you have a sweet new macrame plant hanger to show for it.
All you need to do now is show off your string art prowess on Instagram. Or make a dozen more. Or both. And be sure to tag us if you do (#yurview) because we’d love to see how it turned out.
Thanks again to Jane and huge respect to Amy from Moss Points North for keeping the art of knot tying alive.
Still high from owning all those macrame knots? Find your next project here.


