Bring back the lost art of hat making while creating a wearable work of art with this DIY Fedora tutorial that will teach you to make a hat.
A visit to the craft room at Laura Hubka Millinery turned into a chance to make a custom fedora for Creative Living host Jane Clauss. She came away from the experience with a new hat and training from a couture milliner, and you can too.
Follow along with Laura in the video, or check out the transcript below to create at your own pace (transcript lightly edited for clarity). Click the links to jump to the section of your choice.
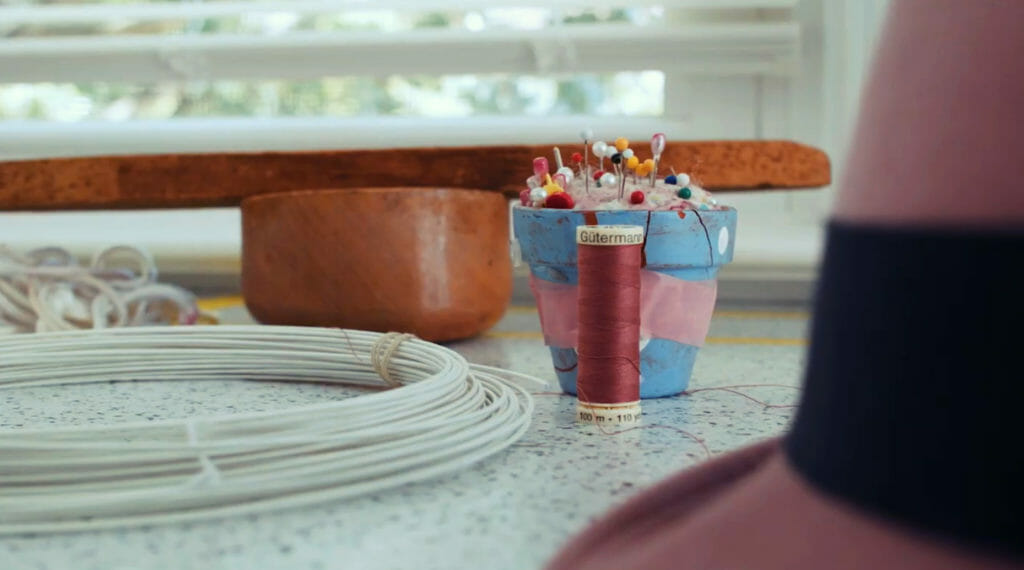
Supplies List
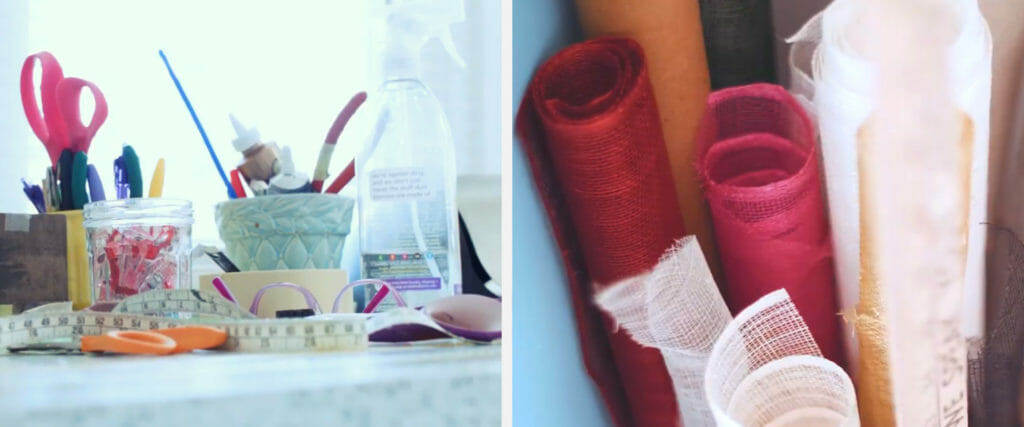
- Felt Hood or piece of Felt larger than your intended finished hat (Don’t use the felt squares from the kids’ craft area, as those will not hold together).
- Scissors
- Sewing Machine or Sewing Needle
- Thread in a matching or complementary color
- Measuring Tape
- Pre-Made Hat Block or Alternative (Etsy also has a ton of affordable options)
- Steamer or Alternative
- Clear Plastic Bag (optional)
- Spray bottle filled with water
- Millinery Wire (info here on the type and gauge you need)
- Binder Clips or Clothespins
- Pins (push pins or sewing pins)
- Needle Nose Pliers with Wire Cutter
- Brim Break/Blocking Cord
- Pusher Downer
- Felt hat brush
- Head-size ribbon
- Ribbon for trimming (optional)
- Embellishments of your choice (optional)

Instructions
If you need to see a step in action, each instruction also points to a timecode in the video.
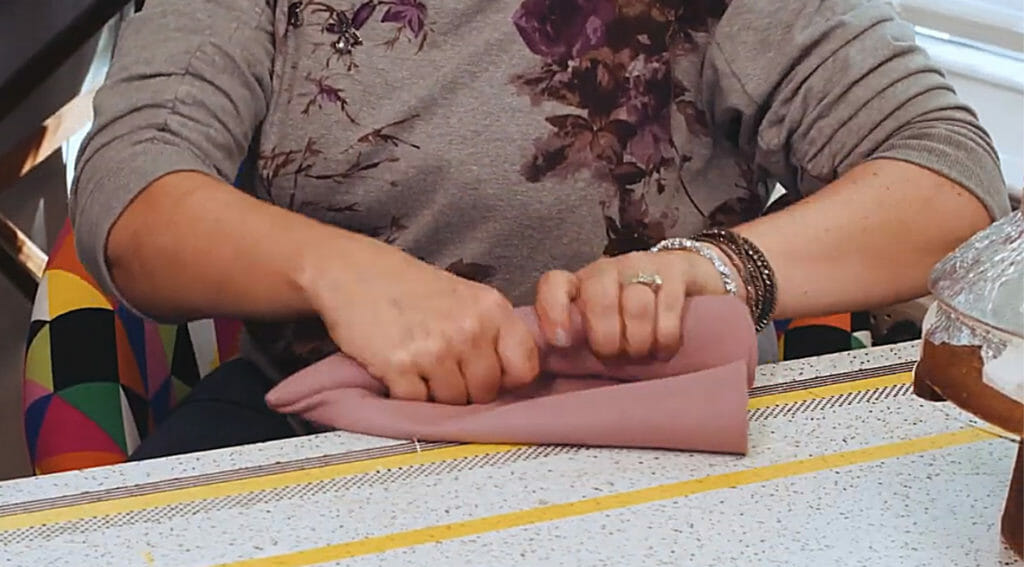
LH 2:02 So first, we’re going to select our material. This is kind of like a painter’s canvas, you select your color, you select your material. (e.g. your felt hood or other felt piece)
LH 2:24 We are going to take our base material, I’m going to ask you to spray it . . . with water. So I roll it together. And I’ll let that soak in just a little bit. And then we’re going to put it on the steamer. And actually we’re going to put a plastic bag on top of it to help the steam penetrate a little faster.
LH 2:22 Next . . . we’re going to shape it over the hat block.
LH 2:54 Okay, so you’re going to start pulling. So take your hands and kind of mold it up here. And then pull the fullness out the bottom. So you can put some steam on here.
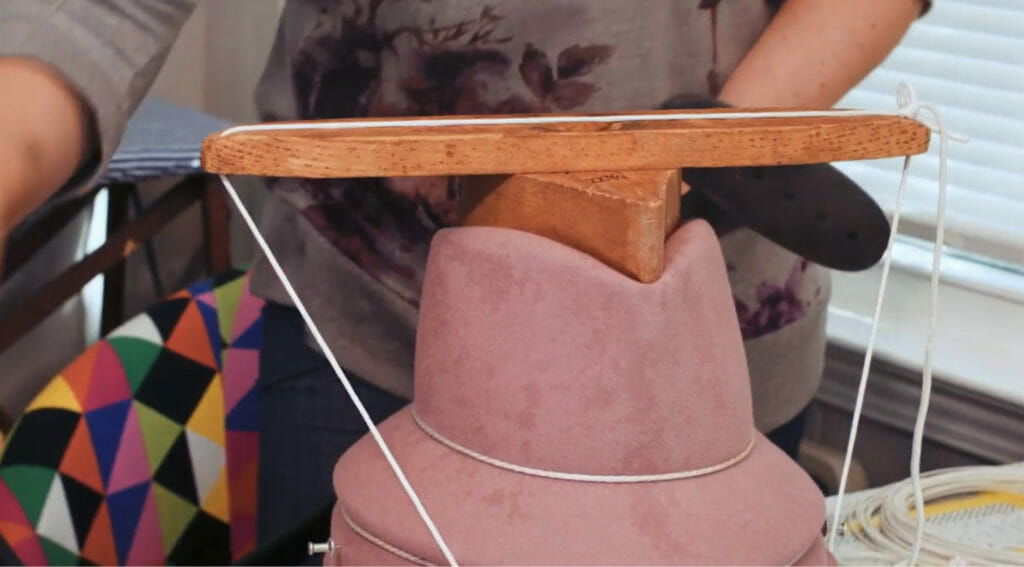
LH 3:18 And then we’re going to kind of cinch a cord on here. Almost like a belt. (Tutorial on how to tie the knot they use here.)
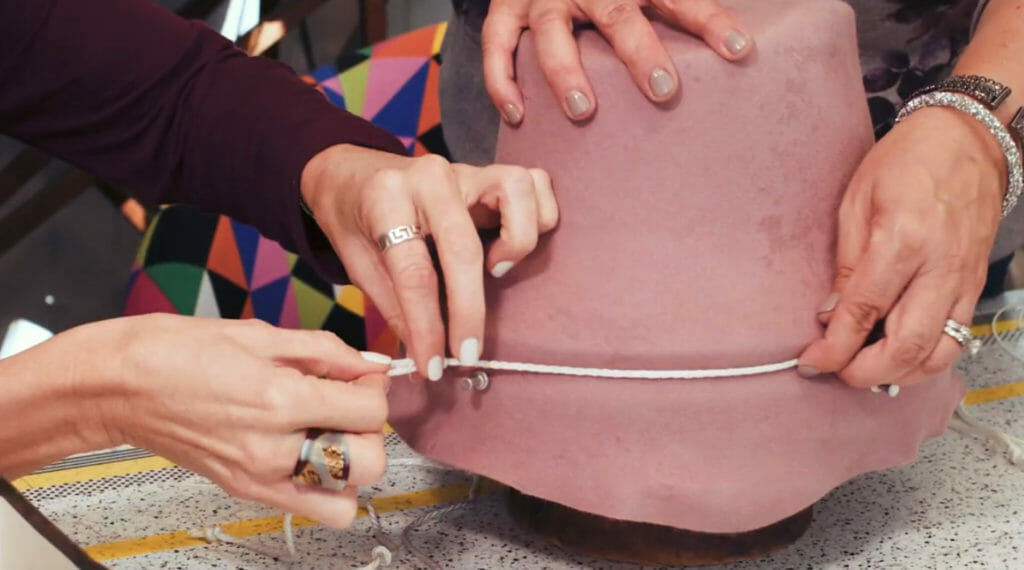
LH 3:28 You want it tight as you can. So steam one more time. And there’s a little white stick over there (the pusher downer) that has kind of a point to it. We’re gonna use that to kind of draw in where the crown meets the brim.
Add a second blocking cord over that line where crown meets brim once you have completed the step above.
LH 3:28 We’re gonna hit the top with steam one more time. We’re gonna give it a little brush. Get some of those loose fibers out of our way.
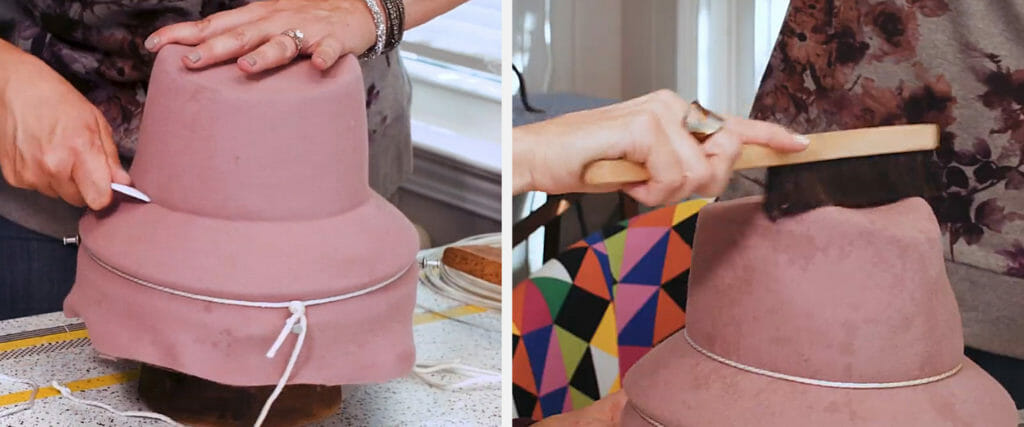
If you purchased a hat block, now is the time to place the top block on the crown of your hat. You’ll tie it to your hat block with a bit more millinery cord in the next step.
LH 4:02 All right, now we need one more cord. We’re going make sure it’s centered. We’re going hit it with steam one last time.
Allow the hat to dry for 2-3 hours. Then you’re ready to take it off of the block and sew in the rest of the details.
LH 4:25 So we took this off the mold so it’s ready to get its wires and we’re going to very gently put it right in that ridge there . . . And then this is going to sew on a regular machine.
Once you’ve clipped your wire to the right length and set it into the bottom of your brim, fold the remaining fabric over before clipping it in place with binder clips or clothespins.
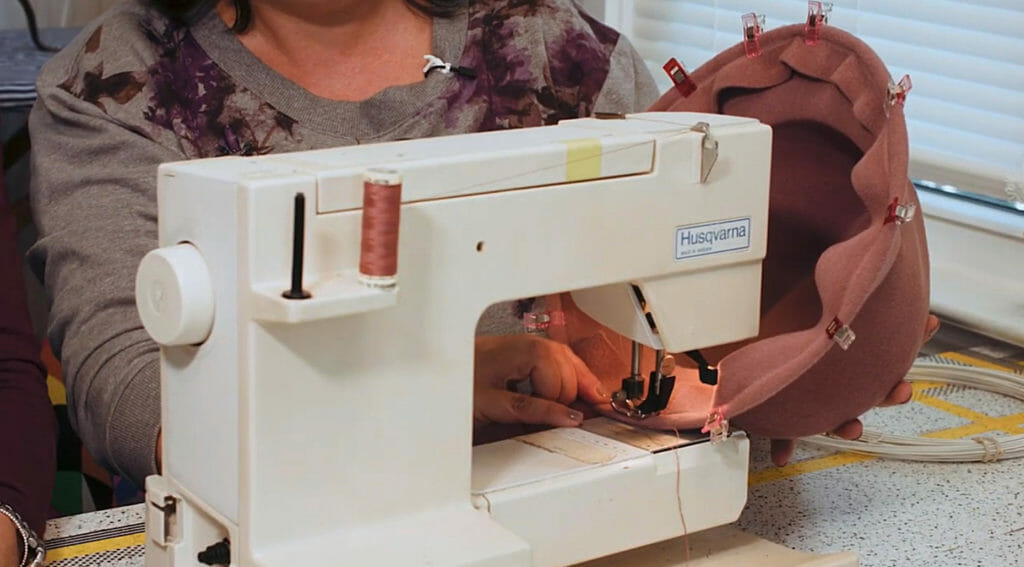
LH 4:44 We’re going to drop our needle. We’re going to make sure we’re not bumping that wire. And we’re just going to go real slow.
Trim away the excess fabric once the wire is sewn in.
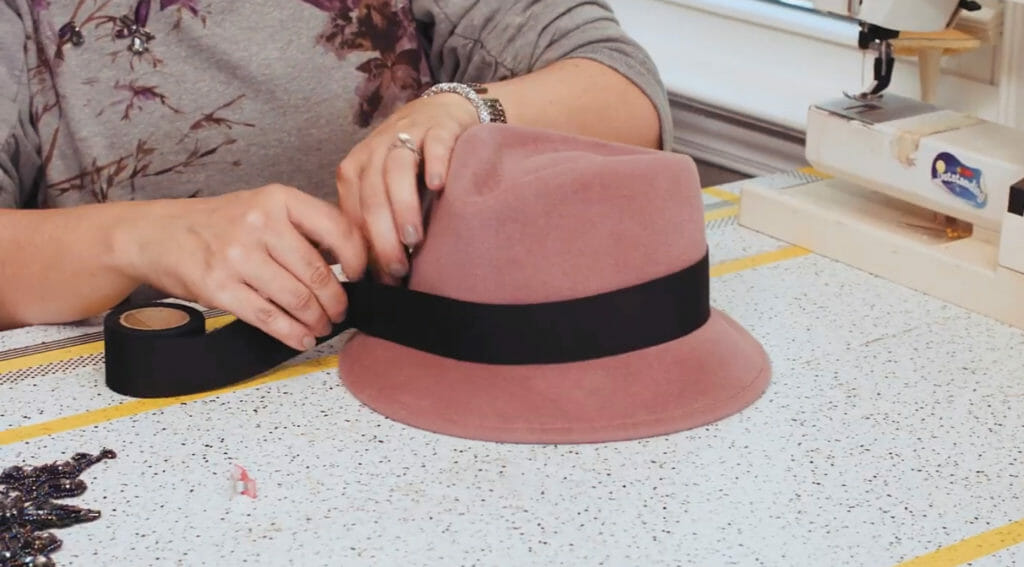
LH 4:53 We’re going to put a head size ribbon in it and then we are going to decorate it, which is called trimming in hat making. (Resources: creating a head-size band tutorial + buying one ready-made)
Once you have the band created and placed inside the hat, sew only the edge closest to the brim down.
Next, cut a ribbon for the outside of the hat. You can sew the ends together to make a traditional hat band, or tie a bow. You do not need to sew this outer band to the hat.
Now’s the time to add your embellishments – any decorative touches you want to use to make this fedora uniquely yours. Laura chose this beaded flowering vine and attached it by hand stitching. Whatever you choose, many embellishment retailers also offer tutorials to up your hat-making game. Some of them include:
- Humboldt Haberdashery
- Judith M Millinery (Laura says they have the best supplies, too)
- House of Adorn
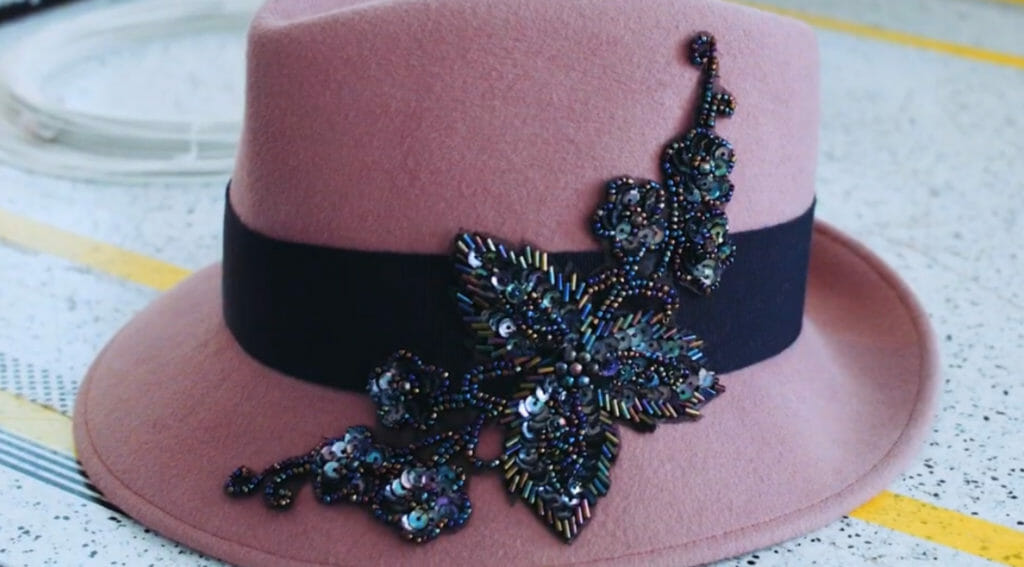
And that’s it, you did it. Congrats on your new one-of-a-kind DIY fedora. And if this tutorial helped, feel free to tell a friend.
Workarounds
Hat Block Alternatives
If you’re just starting out, investing in a pricey wooden hat block is probably not high on your to-do list. One day you might decide millinery is worth the investment, but until then here are some alternatives.
Styrofoam
Rae Woolnough is an Australian textile artist and has a bunch of workshops, as well as PDF instructions to go along with this video here (scroll down a bit once you get there).
Wig stands, expandable foam and so much more
This thread is a great resource, full of ideas on creating a less expensive and more customized hat block.
3D Printing
Download the files here and create your own hat block with your 3D printer. Admittedly, this is an advanced option.
Buy one on Etsy
They have a bunch of options, some priced pretty reasonably.
Steamer Alternatives
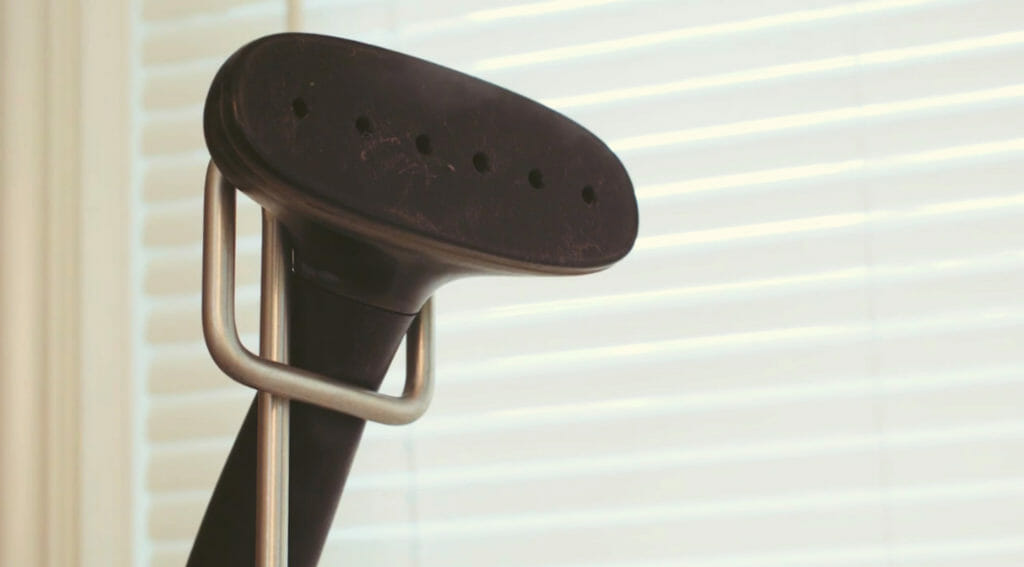
Steam is pretty important to this process. Laura uses steam at least seven different times in the video. But not all of us have a garment steamer and stand sitting around the house. Here are some options:
- An Iron filled with water and the steam setting cranked to high
- 8 more options that run the pricing gamut from $20 to over $700, including the steamer pictured above.
Mastered the Fedora? Check out the rest of our DIY collection.


