There are so many great things about going back to school like new clothes, new books, a new grades, new classes, getting to see old friends…and making new ones!
To show them all how much you care, try this new twist on an old favorite and the latest trend in friendship bracelets. It’s easy, inexpensive and eco-friendly because you get to repurpose an old t-shirt plus adding a few sparkles always makes people happy!
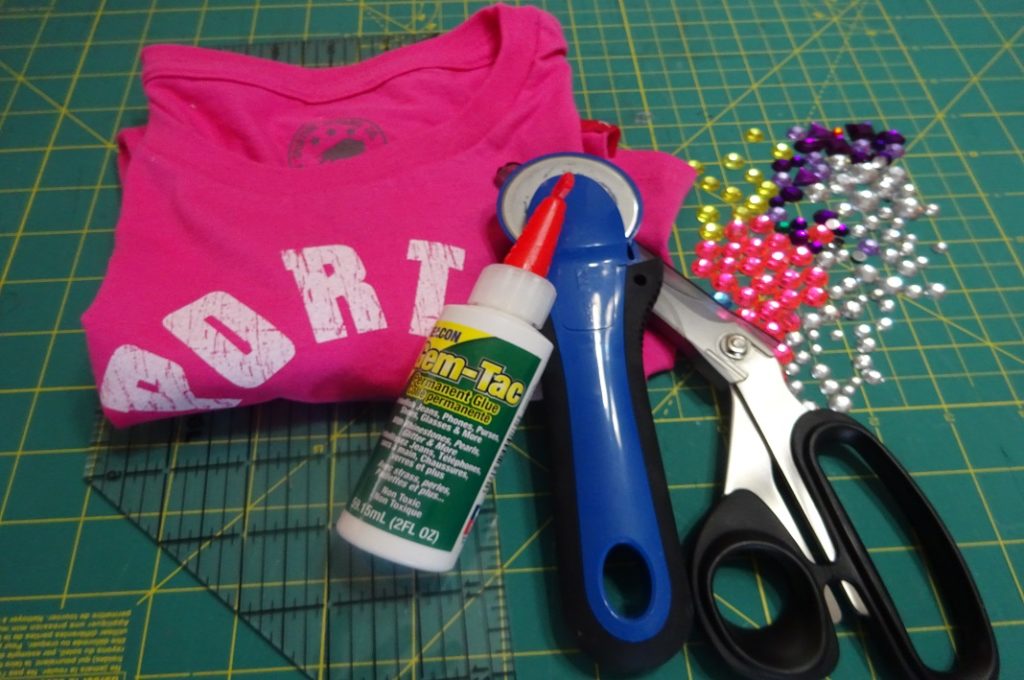
You’ll need: old t-shirts (maybe use last year’s gym shirt?!), flat back gemstones, fabric glue, scissors or a rotary cutter, and a cutting mat.
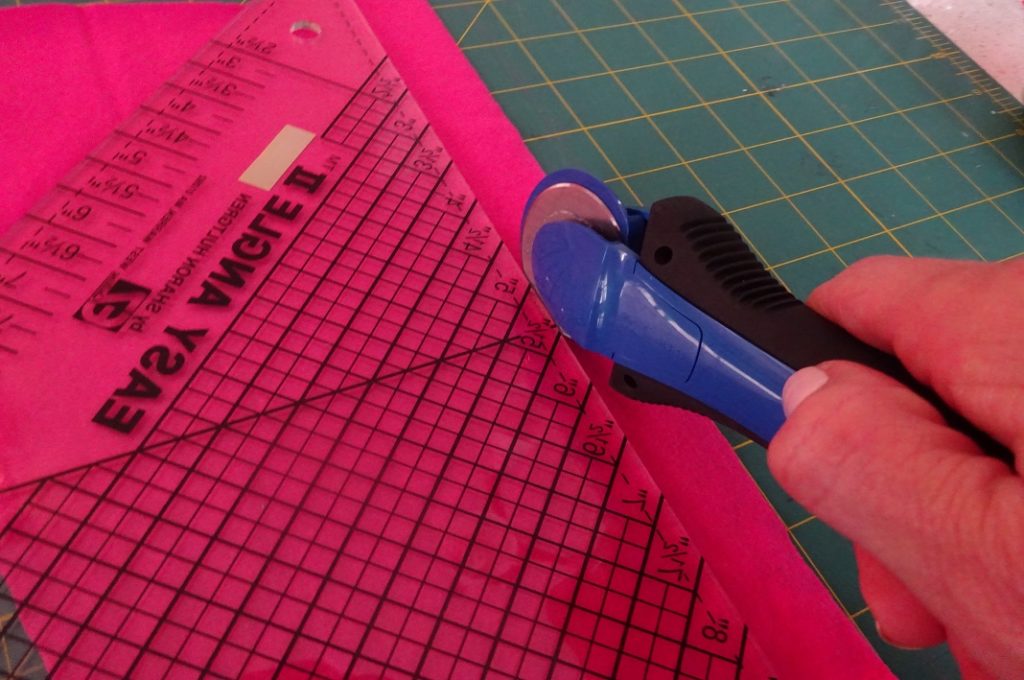
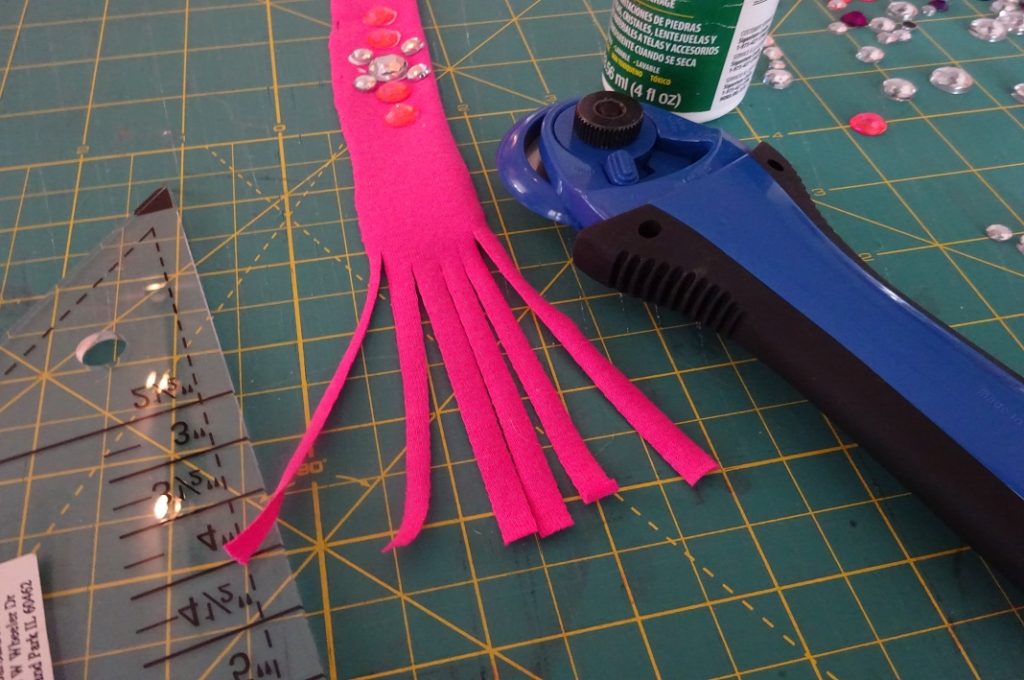
First, cut strips of the tshirt material about 12″ long and about a ½” wide.
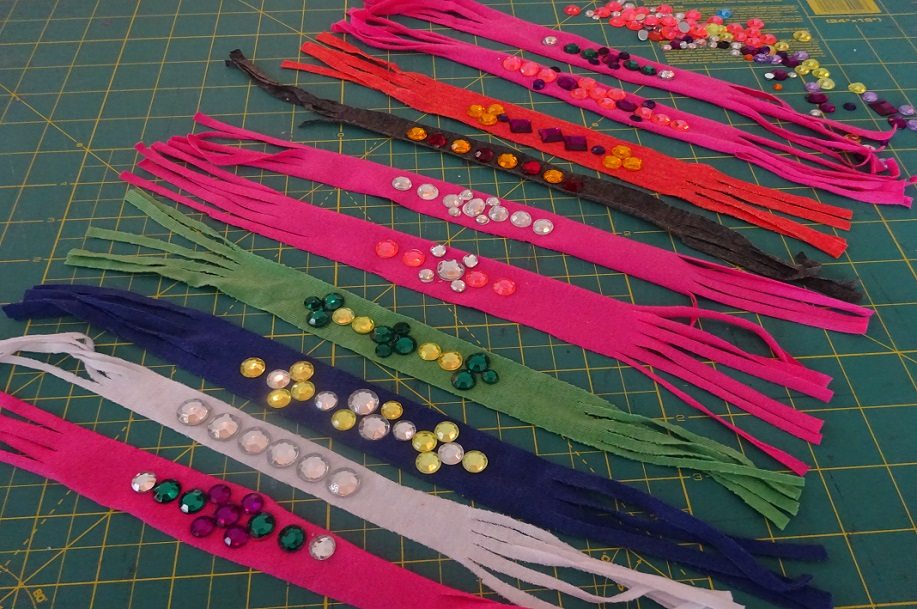
Next, glue gems in the center of the fabric band. A little dab of glue will do the trick. Use different color gems to create an interesting design or use the same color for a sophisticated look.

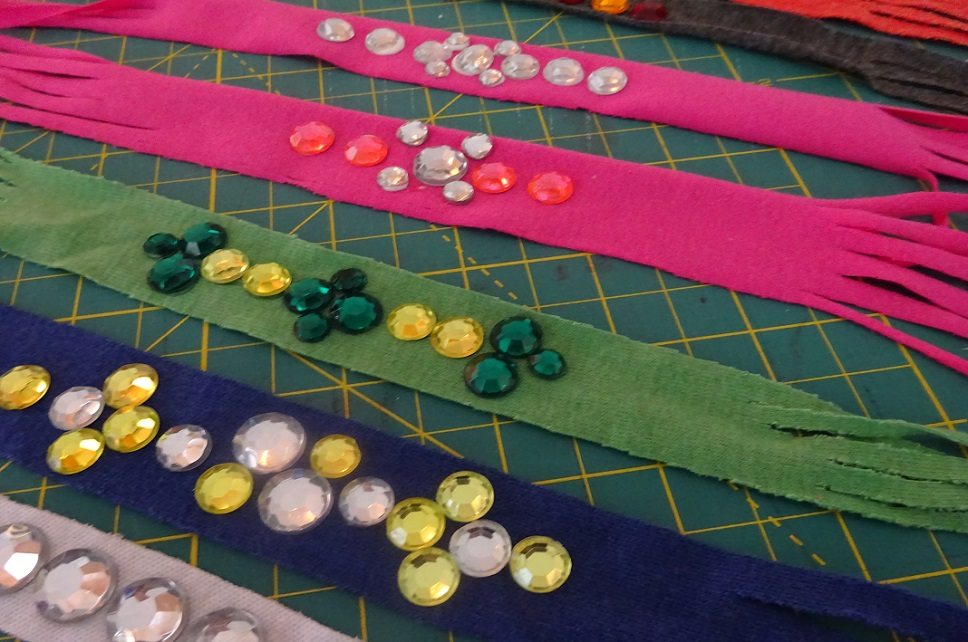
Using your rotary cutter or scissors, cut fringe about 1.5″ into both ends of the band.
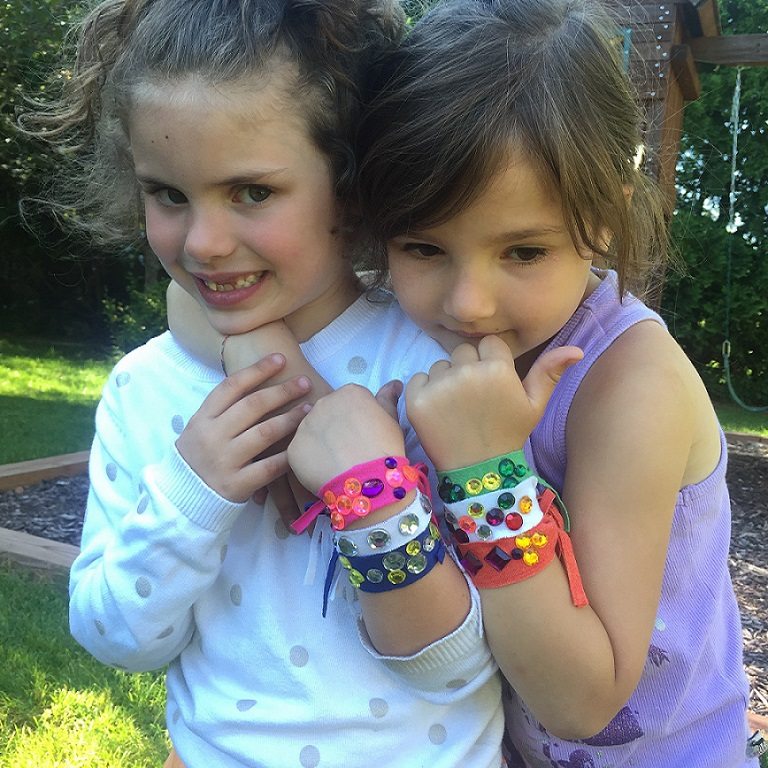
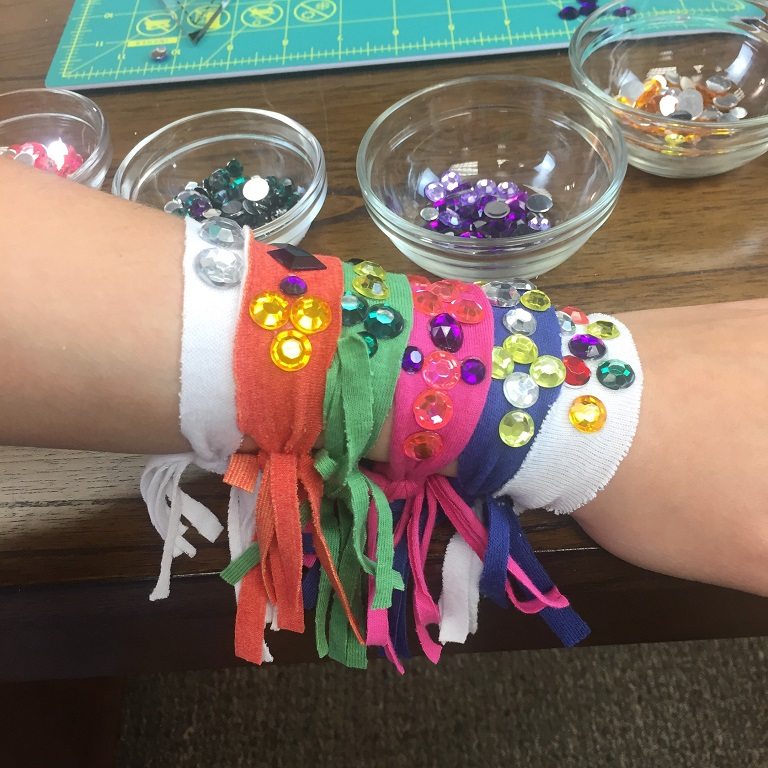
So first, tie one or several around your best friend’s wrist and there you have an updated version of a friendship bracelet. These friendship bracelets are so quick and easy to do, you can make plenty of them at one time; one for every person in the class (and maybe even your brother)!!
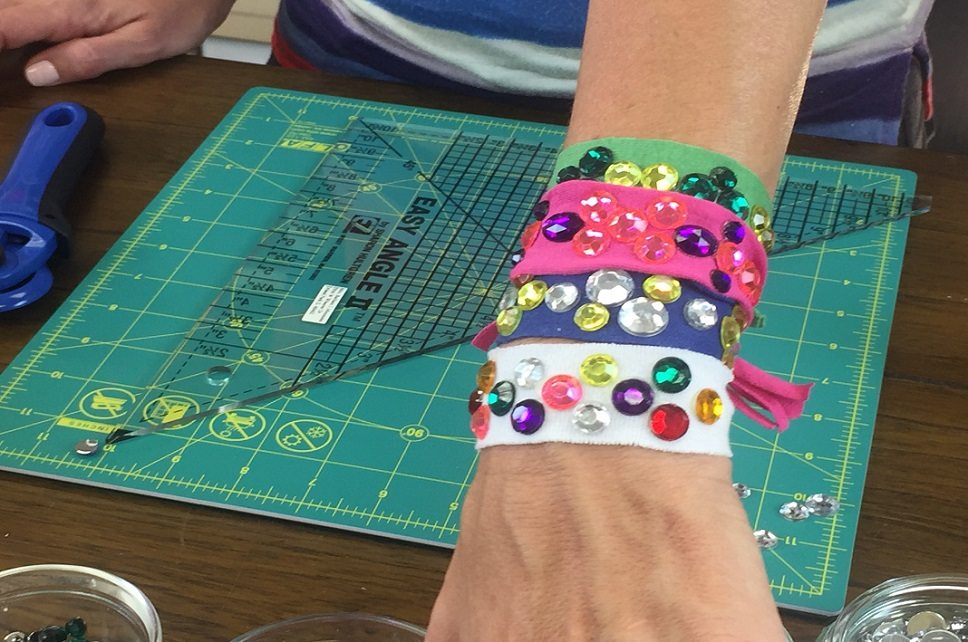
Final thought: These upcrafted friendship bracelets make a great class project, team building exercise, or DIY party favor, plus everyone loves wearing them! For more fun back to school ideas go to DIY by Jane.
And check out this video on how to make teacher jars:


